A Step by Step Guide to Lath and Plaster Removal
Our DIY guide to lath and plaster removal makes this intimidating task possible for anybody!
Lath and plaster removal can be a do-it-yourself project! Lath and plaster are prone to sagging, cracking and even partially falling down. Do not be intimidated by advice that suggests removing period lath and plaster is too hard to do yourself. With a little elbow grease and the right know-how, this is a DIY project suitable for almost anyone who knows how to use a hammer and crowbar.
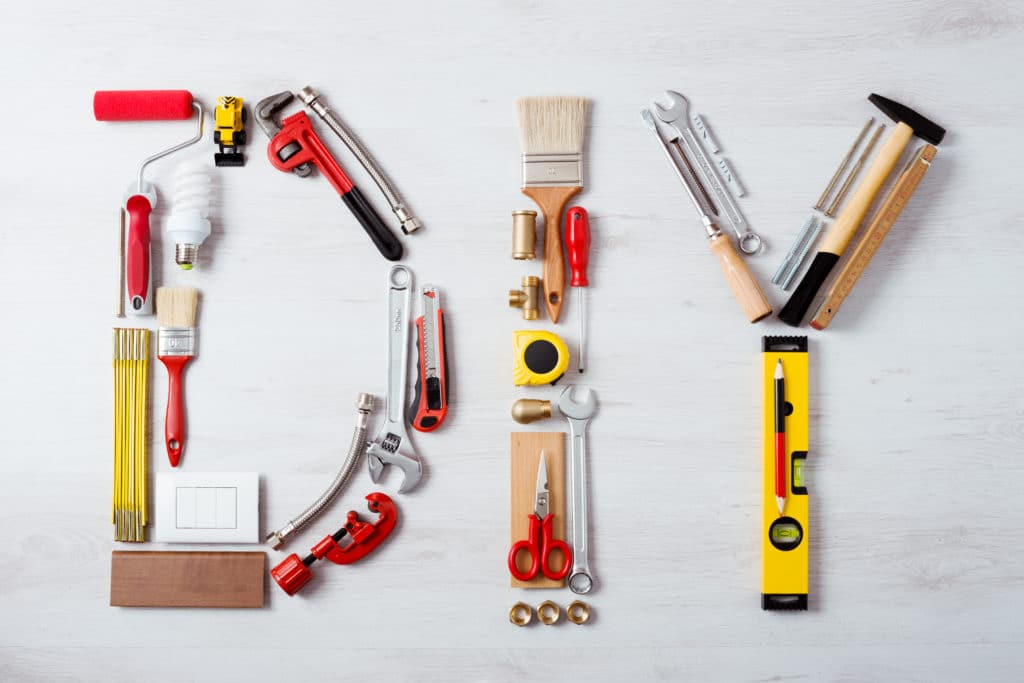
Tools You Will Need
To remove lath and plaster ceilings and walls, all you need are a few tools that you may already have in your own toolkit.
- Gauging brick/trowel
- Working platform and/or sturdy stepladders
- Claw hammer (or any lightweight hammer may do)
- Crowbar/ pry bar/wrecking bar
- Pickaxe (if you do not have one of these, you can manage but they are great for getting old laths down)
- Items to clean up with: Broom, dustpan, shovel, shop vac/vacuum cleaner
You may also need electrical screwdrivers to remove old fittings, rubble sacks and dust protection like dust sheets.
How to Remove Lath and Plaster
To remove lath and plaster, there are essentially four steps. There are five if you need to prep the area by setting out dust sheets and removing furniture.
- Remove the plaster with a hammer and stout trowel. Work in front of yourself by tapping the plasterwork to break it up. If it does not drop away, keep tapping and use the claw hammer or trowel to lever the plasterwork off. If you are working on a poor ceiling or wall, you can slide the trowel under the plasterwork and pull large pieces away.
- Clear debris away at this stage. You do not have to clean up entirely but get the big chunks out of the way.
- Remove the laths with a pickaxe. Slide the blade through a few of the laths and position the pickaxe at the bottom of a joist. Lever large sections of lath down.
- Finally, remove the nails that were holding the laths up. This is tedious but it is imperative that you do this! Otherwise, you could hit a nail while putting up new boarding and it can be a pain to deal with.
You’ve just completed lath and plaster removal! Want to keep the momentum going? Check out more How-To guides on our blog.
I bought a tool for $65.00 at Home Depot. Smacked the walls with the back of it and poked the plaster and wood with the 2 “prongs”. A whole 5×5 section came down in one fell swoop. So worth the 65.oo.
Hi Carol,
That sounds like a very useful tool. What tool was it called?
I think she meant that a “helper” was paid $65 and the guy quit after only managing to remove a 5 X 5 section. I can’t blame him. This job is hard!